My JetKVM arrived yesterday, and I have begun exploring what it can do. So far, very impressed with ease of set up, how polished the user experience is in general, and the hardware quality of the unit.
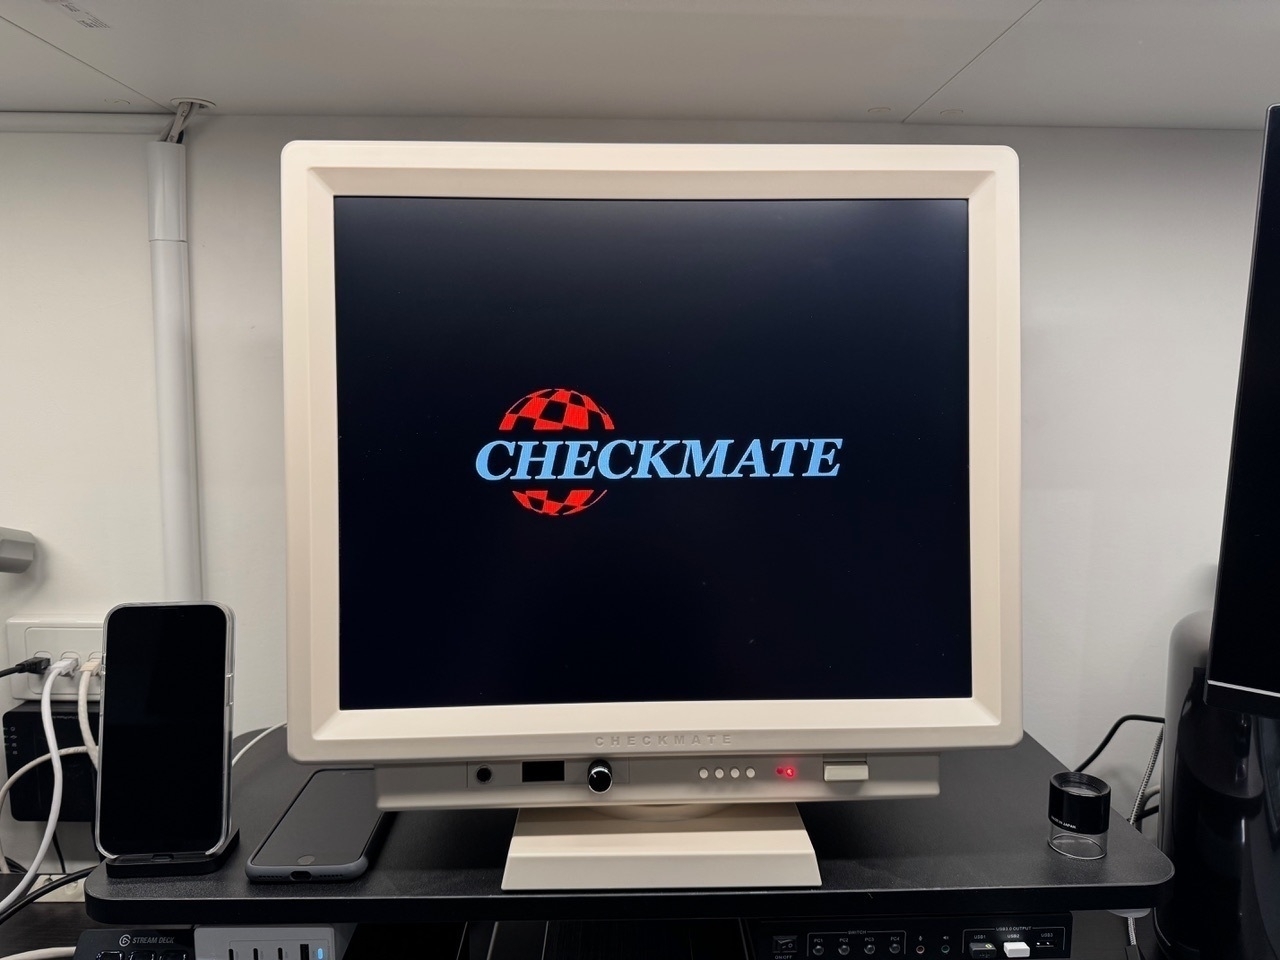
The one strange issue I’ve run into is the quality of the video stream so far has been terrible - this is in both Safari and Firefox on my Mac Studio. I’ve tried an iPhone 15 Pro, a Framework laptop, and a iMac (Retina 4K, 21.5-inch, 2019) as the source, with multiple HDMI adapters. I have also tried a different Mini HDMI to HDMI adapter.
Next I tried viewing it in Microsoft Edge on my PC desktop running Windows 11, with the same issue, below is a screenshot.
I couldn’t spot any related open issues on their Github repo, so I’ve reached out to JetKVM’s support regarding this… Will update as new info comes to hand!

Currently listening: 4AM Breaks - “90s / Modern Ambient Jungle Mix”


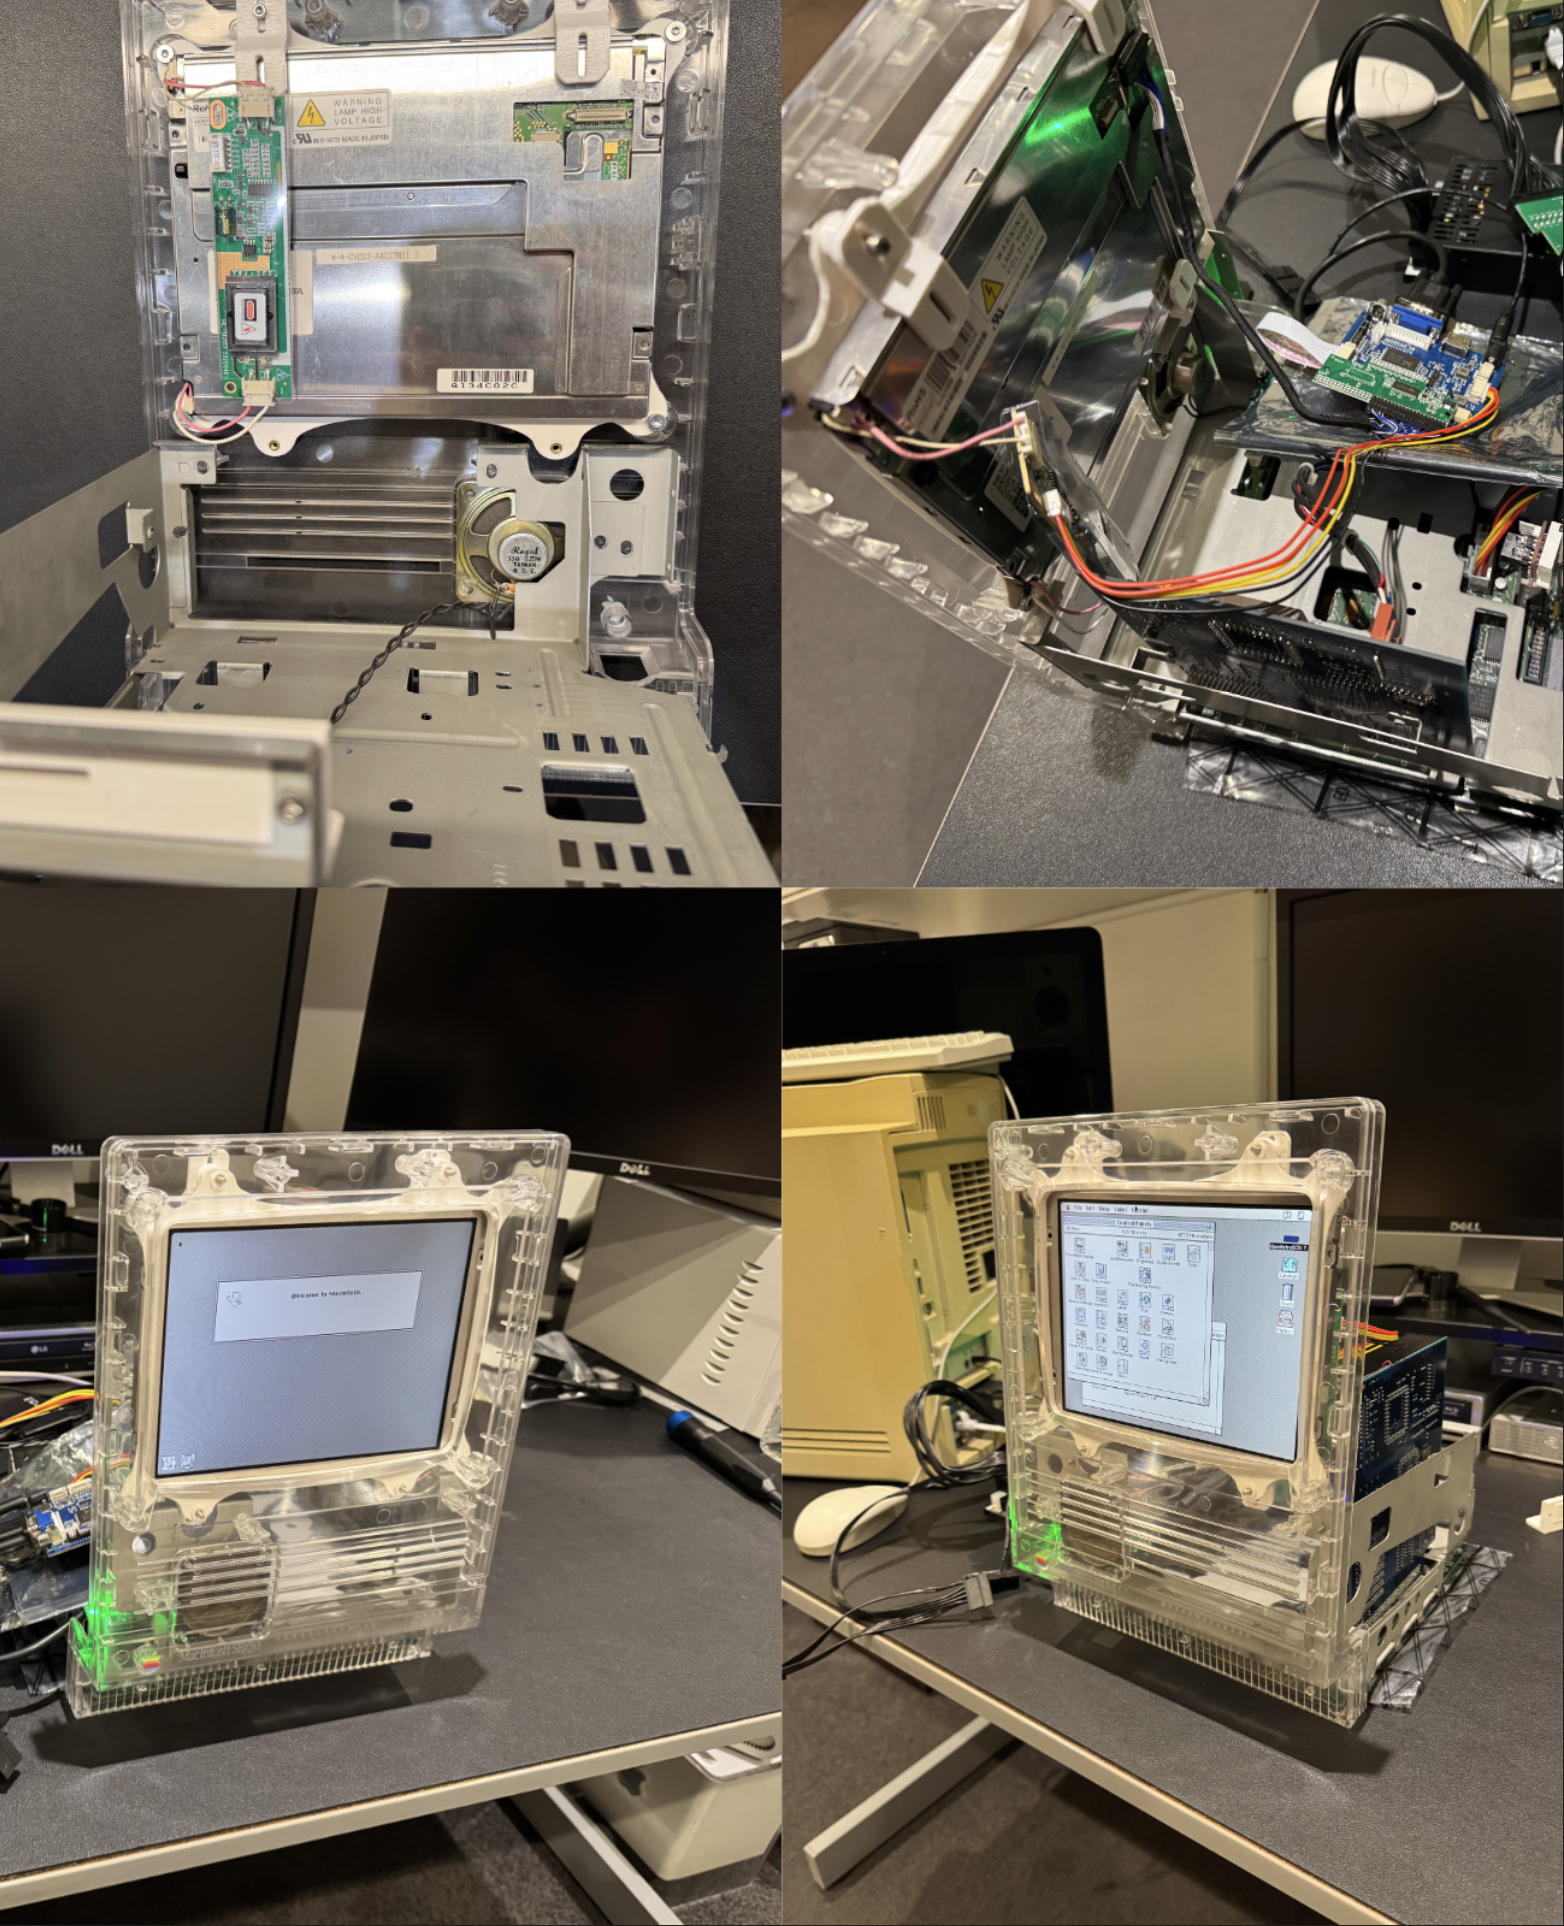
 I also borrowed the metal internal frame from another SE/30, as well as some of the screws. Will have to figure out if that is temporary, or if I will need to source extra so the other one doesn’t have to do without.
 The next things I need to do are to re-cap the main logic-board, as the capacitors are showing signs of leakage, as well as figuring out a solution in terms of internally mounting the power supply and solidly attaching a short power extension cable and a power switch to the exterior of the case.
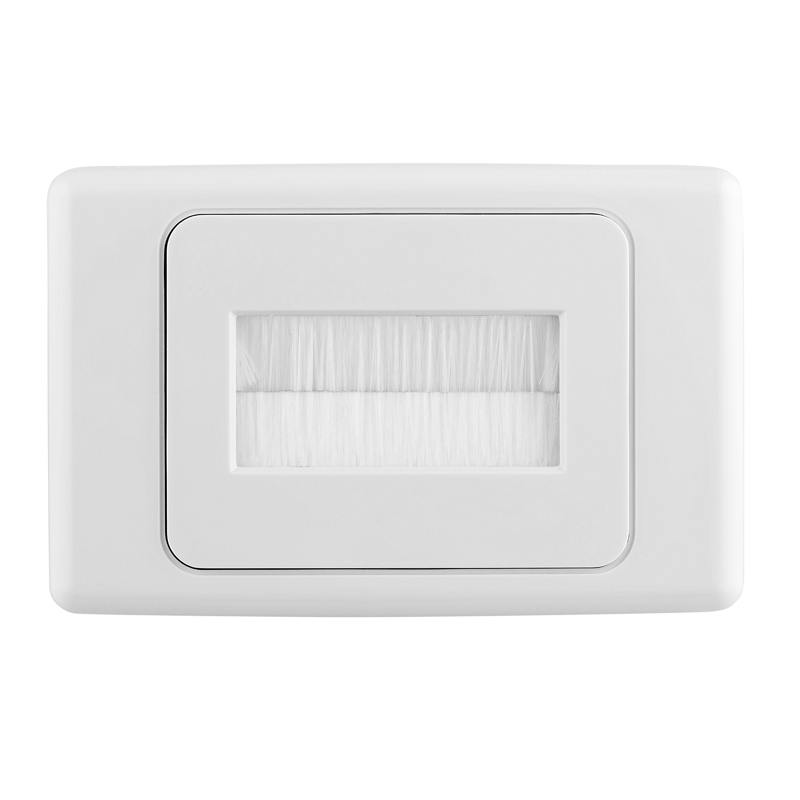 The problem is, despite there being two of them, I am running out of space! The solution I have come up with is to remove both of those, cut the wood panel between the two exisiting holes to create one large rectangular hole, and install
 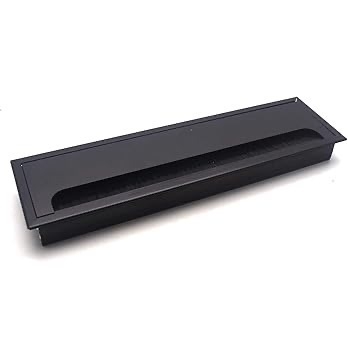 Now, it does mean I have to disconnect and pull out every cable to route them back through the new frame, certainly not a small job, but I think it is about time I pulled out the entire rack and gave it a good dust-out anyway…